Guide for Match
Step 1: Receive email or text
Step 1: Receive email or textStep 2: Preview the process
Step 2: Preview the processStep 3: Select document type
Step 3: Select document typeStep 4: Allow permissions
Step 4: Allow permissionsStep 5: Scan front and back of ID
Step 5: Scan front and back of IDStep 6: Scan face
Step 6: Scan faceStep 7: Verification ended
Step 7: Verification endedStep 3: Select document type
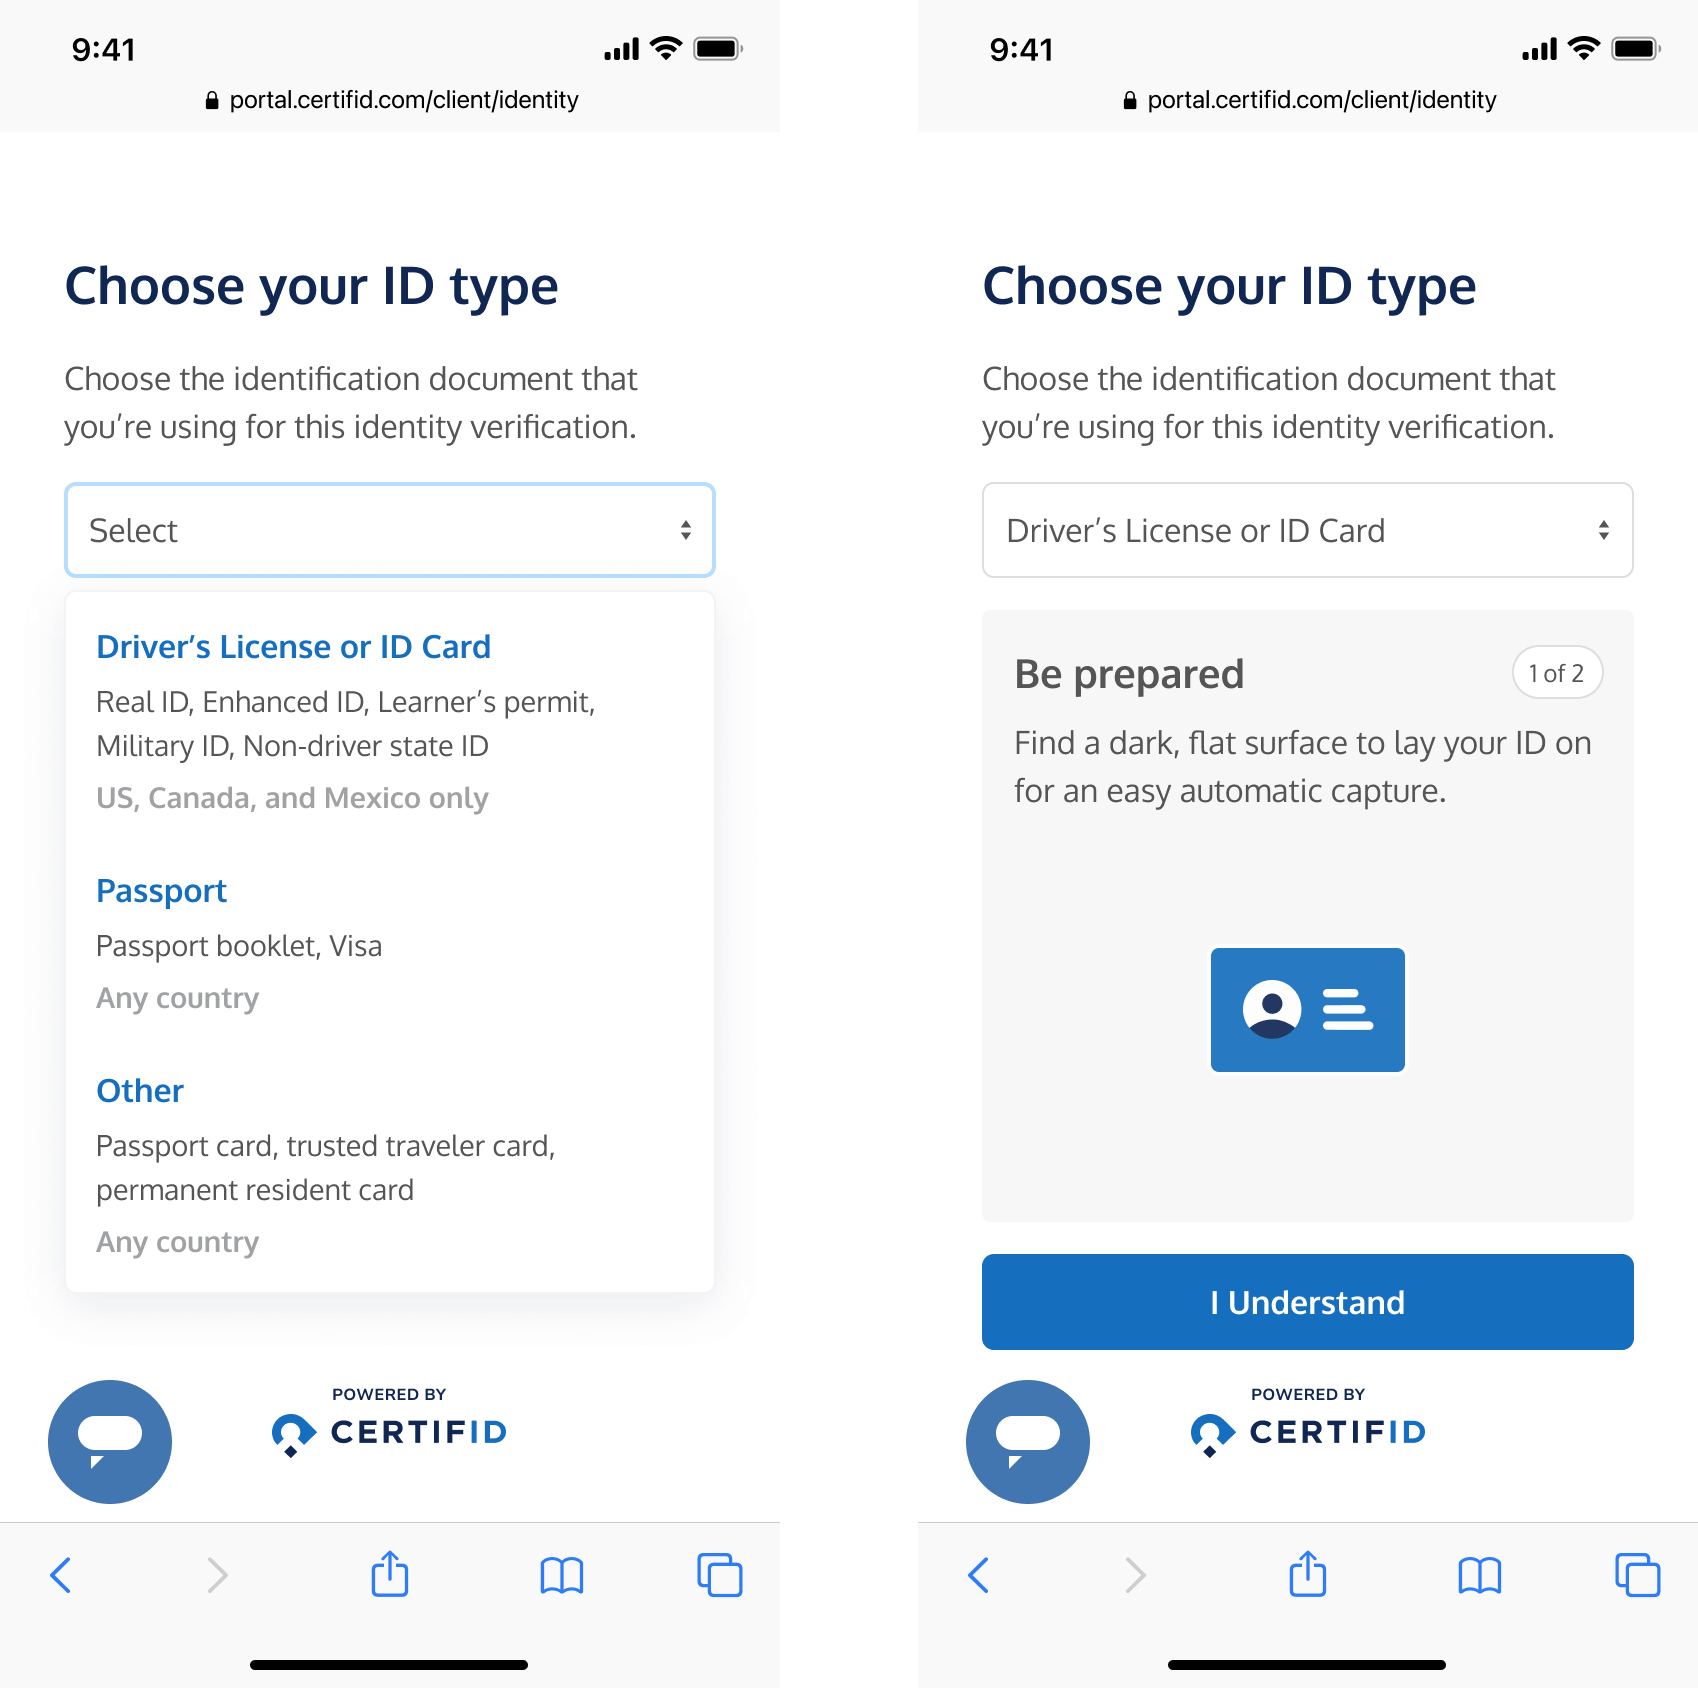
"After clicking 'Get Started,' your client will choose the type of ID they want to use for verification. Once they make a selection, instructions on how to scan the ID will appear. After reviewing the instructions, they can proceed by clicking 'I understand.'"